Since I have a new car, I figured it was about time to get a radio installed in it. It wasn’t all smooth sailing though. Mobile installs offer some unique challenges, and this was no exception. Luckily I had some fellow hams to help! Projects like this always go more smoothly when done with friends.

The power from the alternator is noisy. I know this from plugging my phone into a power charger and the aux port on the radio at the same time. To combat this, we installed a noise filter described as a “capacitor and choke toroid”. The capacitance and inductance help smooth out voltage and current fluctuations from poor diode performance in the car’s alternator. The result is a smooth steady supply of current mostly free of noise.
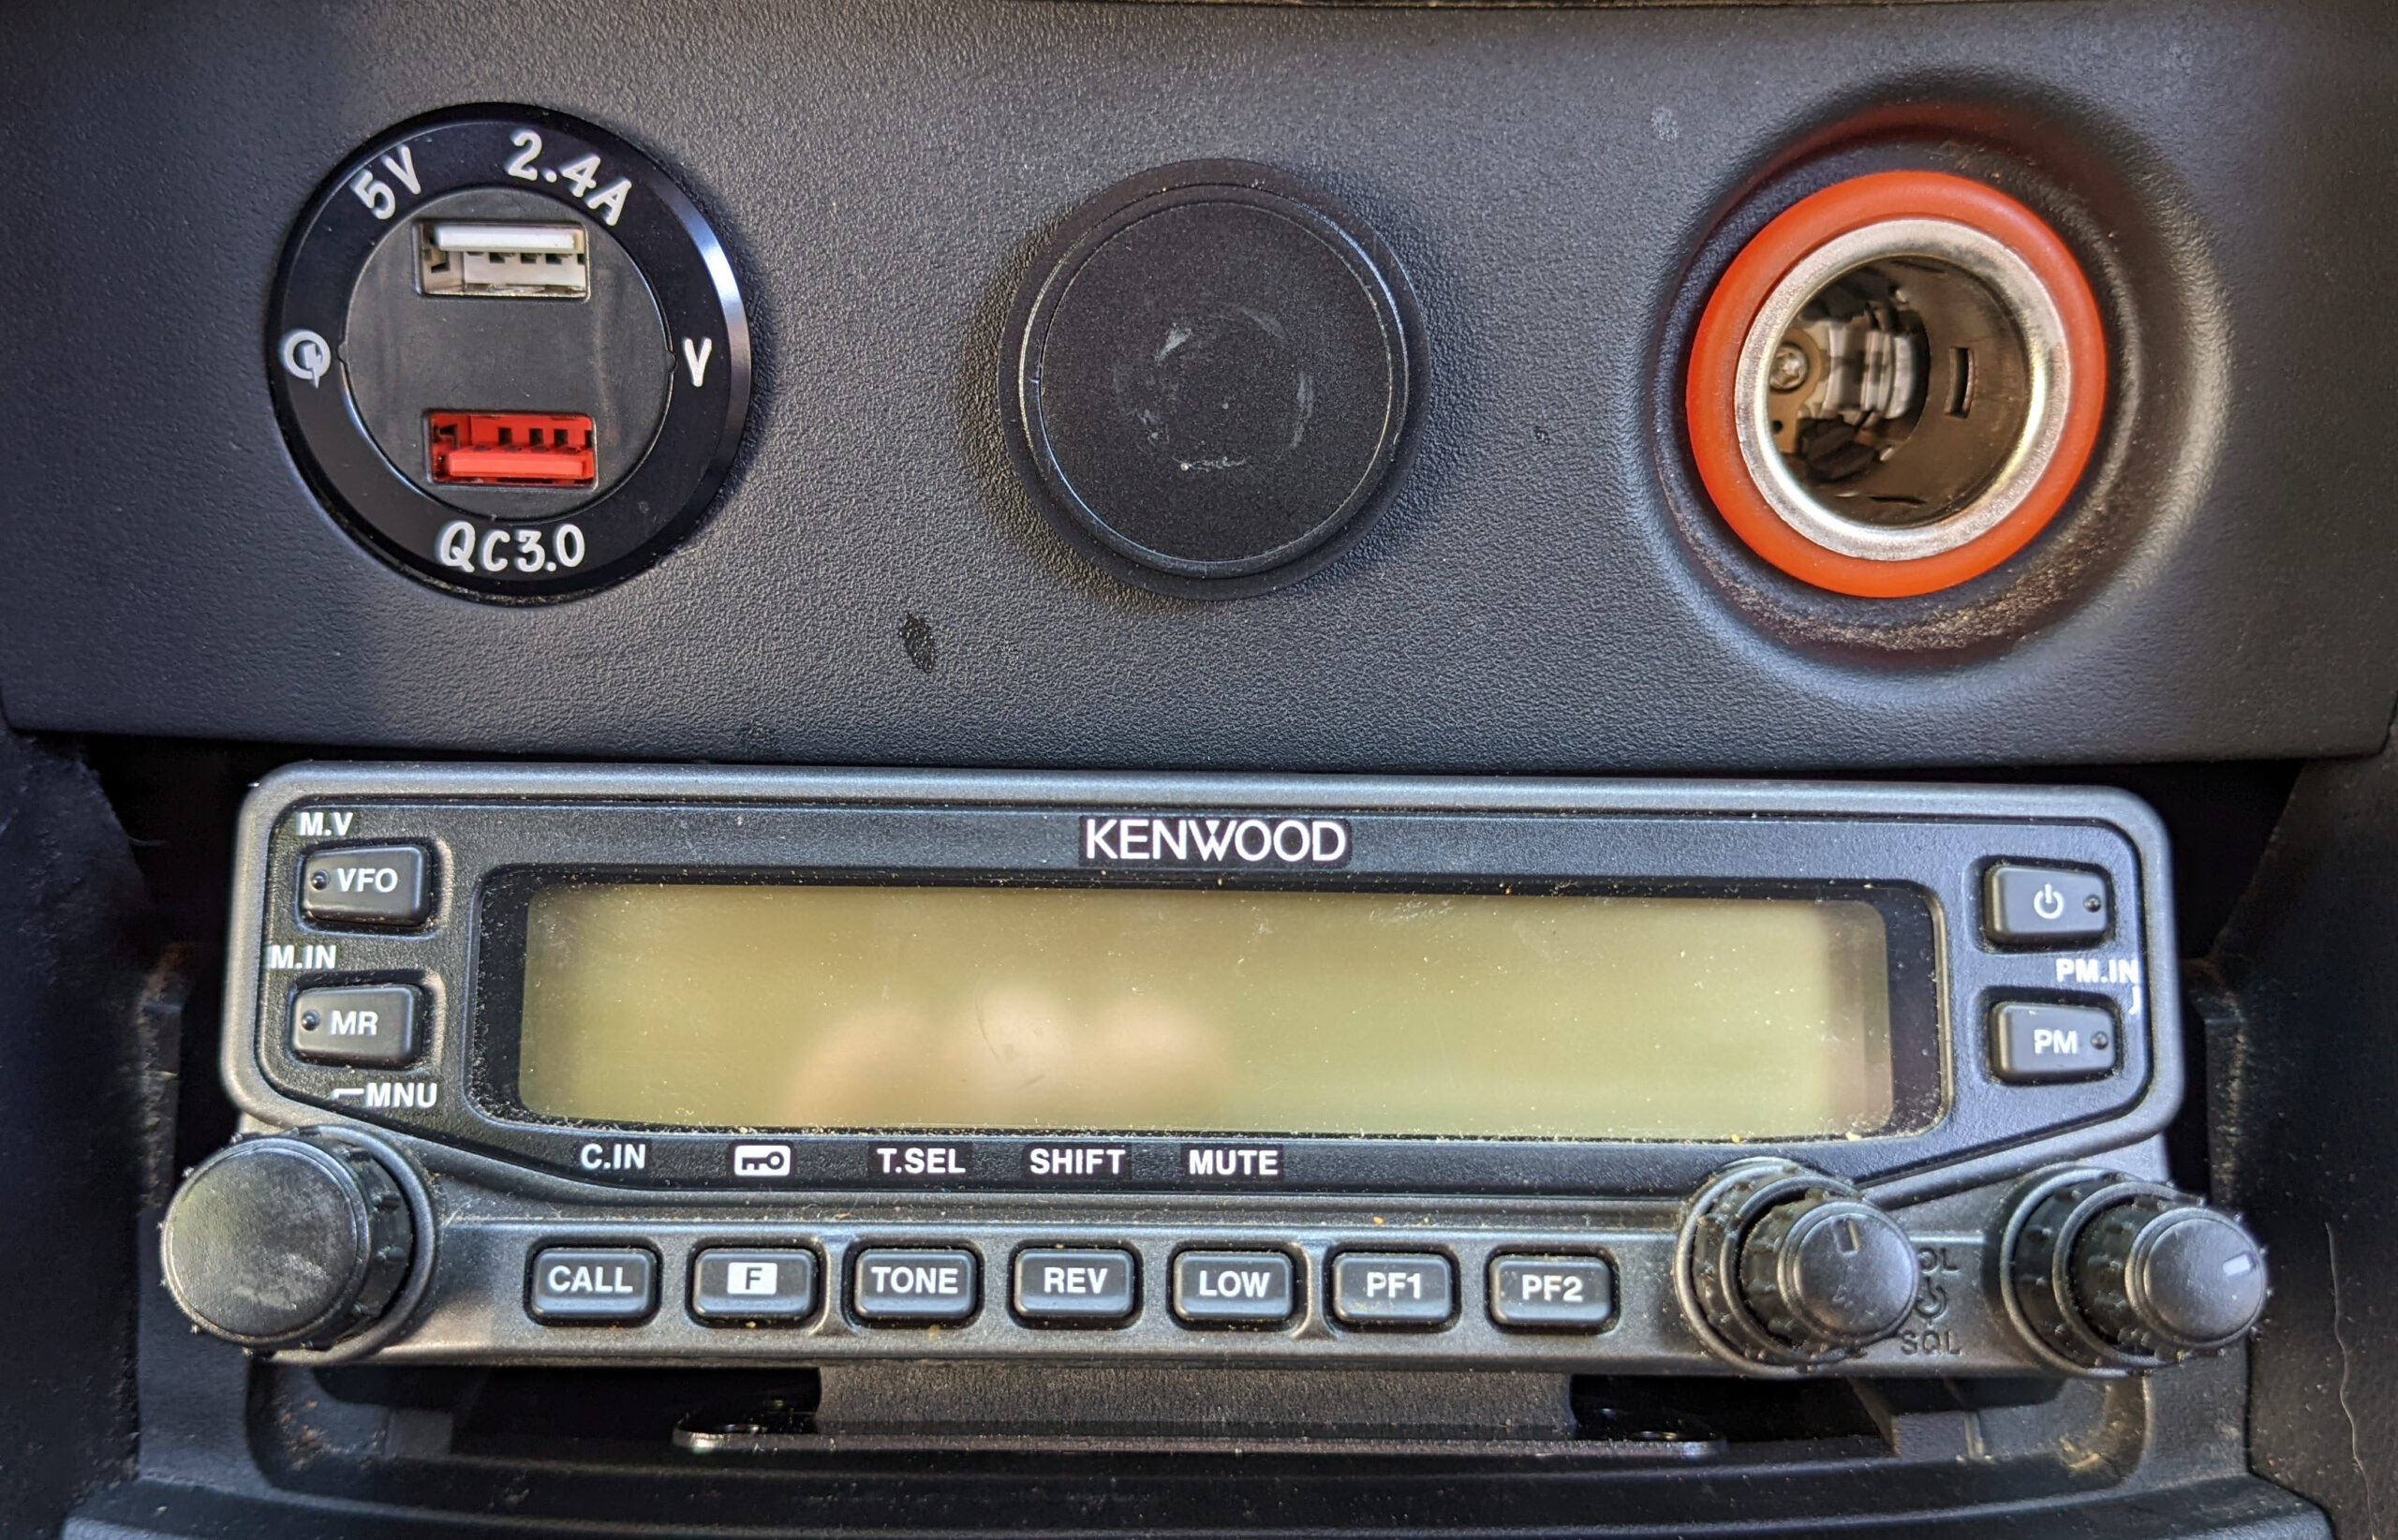
I decided to install the radio with the head detached from the body. This was a new experience for me. When I originally bought the radio, I wasn’t sure how I was going to mount it, and had purchased the detached head kit along with it. I never ended up using the kit with the old car, where it was installed for a decade, but I still had the kit, which made this process much simpler. It included a bracket that the head could snap into and could be mounted on another surface, an extension data cable to connect it to the radio, and an audio cable to help connect the speaker to the car’s audio system. The mic still has to be connected directly to the radio body, but I got an extension for that as an aftermarket part.

We decided for convenience to mount the radio body inside of my glove box. I don’t use that space for anything else, and it surprisingly has enough ventilation. We anchored it in place, and began running wiring.

In my dash, I had a coin bucket with lid that I didn’t need, so I decided to mount the head in that space. We used the adhesive surface mount that came with the remote kit. If I ever decide to remove the radio, I can simply reinstall the coin bucket and you’ll never know the difference. The bracket that the head mounts to expects the wiring to go out the side, but we intended to run it back through a hole to where the radio was going to live. Since the bracket didn’t come with a hole where I needed it, I got out my drill and created one. The head unit snaps in, and we fished the data cable from the head through the center console and up into the glove box. One connection down.
Next up was audio. The radio includes a speaker, but with the body mounted inside of the glove box, that wasn’t going to be effective. Instead, we used an audio patch cable to run from the radio through the center console to my stereo’s aux port. With that connection made, the radio’s audio will come out through the left channel of the car’s audio system, making for easy listening. Two connections done.

Using solderless connectors, we tapped into the car’s accessory power bus and installed the power filter. Power from the filter output was routed to the radio and connected with more solderless connectors. Sorry, no Powerpoles this time. I tried to put the connectors in an easy to access spot so that if I need to use the radio while I’m stationary I can hook up a grid-based power supply easily. We also installed a toggle switch to control the power via a relay, mounting it inside of the console’s napkin compartment so it would be out of the way. Three connections complete.

The DTMF mic was next on the list. The remote kit doesn’t come with an extension for the mic, which is mind-boggling to me. Get it together, Kenwood. I purchased a shielded cat7 extension cable which seems to be working well enough at the moment. As usual, I routed the wiring through the center console from the radio to the napkin compartment, where the mic itself gets to hang out when not in use. Four connections finished.

With all that out of the way, the only thing left to do was connect the antenna. For this vehicle, I decided to try a lip mount NMO on the hatch. Because it wouldn’t be in the center of a nice plane of steel, I opted for a longer almost-dipole antenna for improved performance. The feed line is routed through the wiring entry between the hatch and the car’s body, under the paneling to the floor, and then along the floor to the radio under the passenger seat. I placed a SWR meter in line and verified the ratio was less than 2:1 on all the frequencies I intended to operate, and was pleased to see the antenna wouldn’t require any adjustment out of the box.


The SWR graph there is a little wonky because of my inability to read things well on my old analog meter. I’ll analyze it again when I get my NanoVNA. About 6 hours and two pounds of solder later, I am once again a mobile operator. Reception and range appears to be better than my previous install, no alternator buzz, and plenty of QSLs on the local repeaters.